
ChocolateDipped Ice Cream Cone Cupcakes Recipe How to Make It
Instructions. In a medium bowl, microwave chocolate and vegetable oil for about 1 minute. Stir every 20 seconds until smooth. Place ice cream cones on a small lined baking sheet. (Make sure you have cleared space in your freezer for the sheet.). Drizzle about 1 teaspoon melted chocolate into the bottom of each ice cream cone.
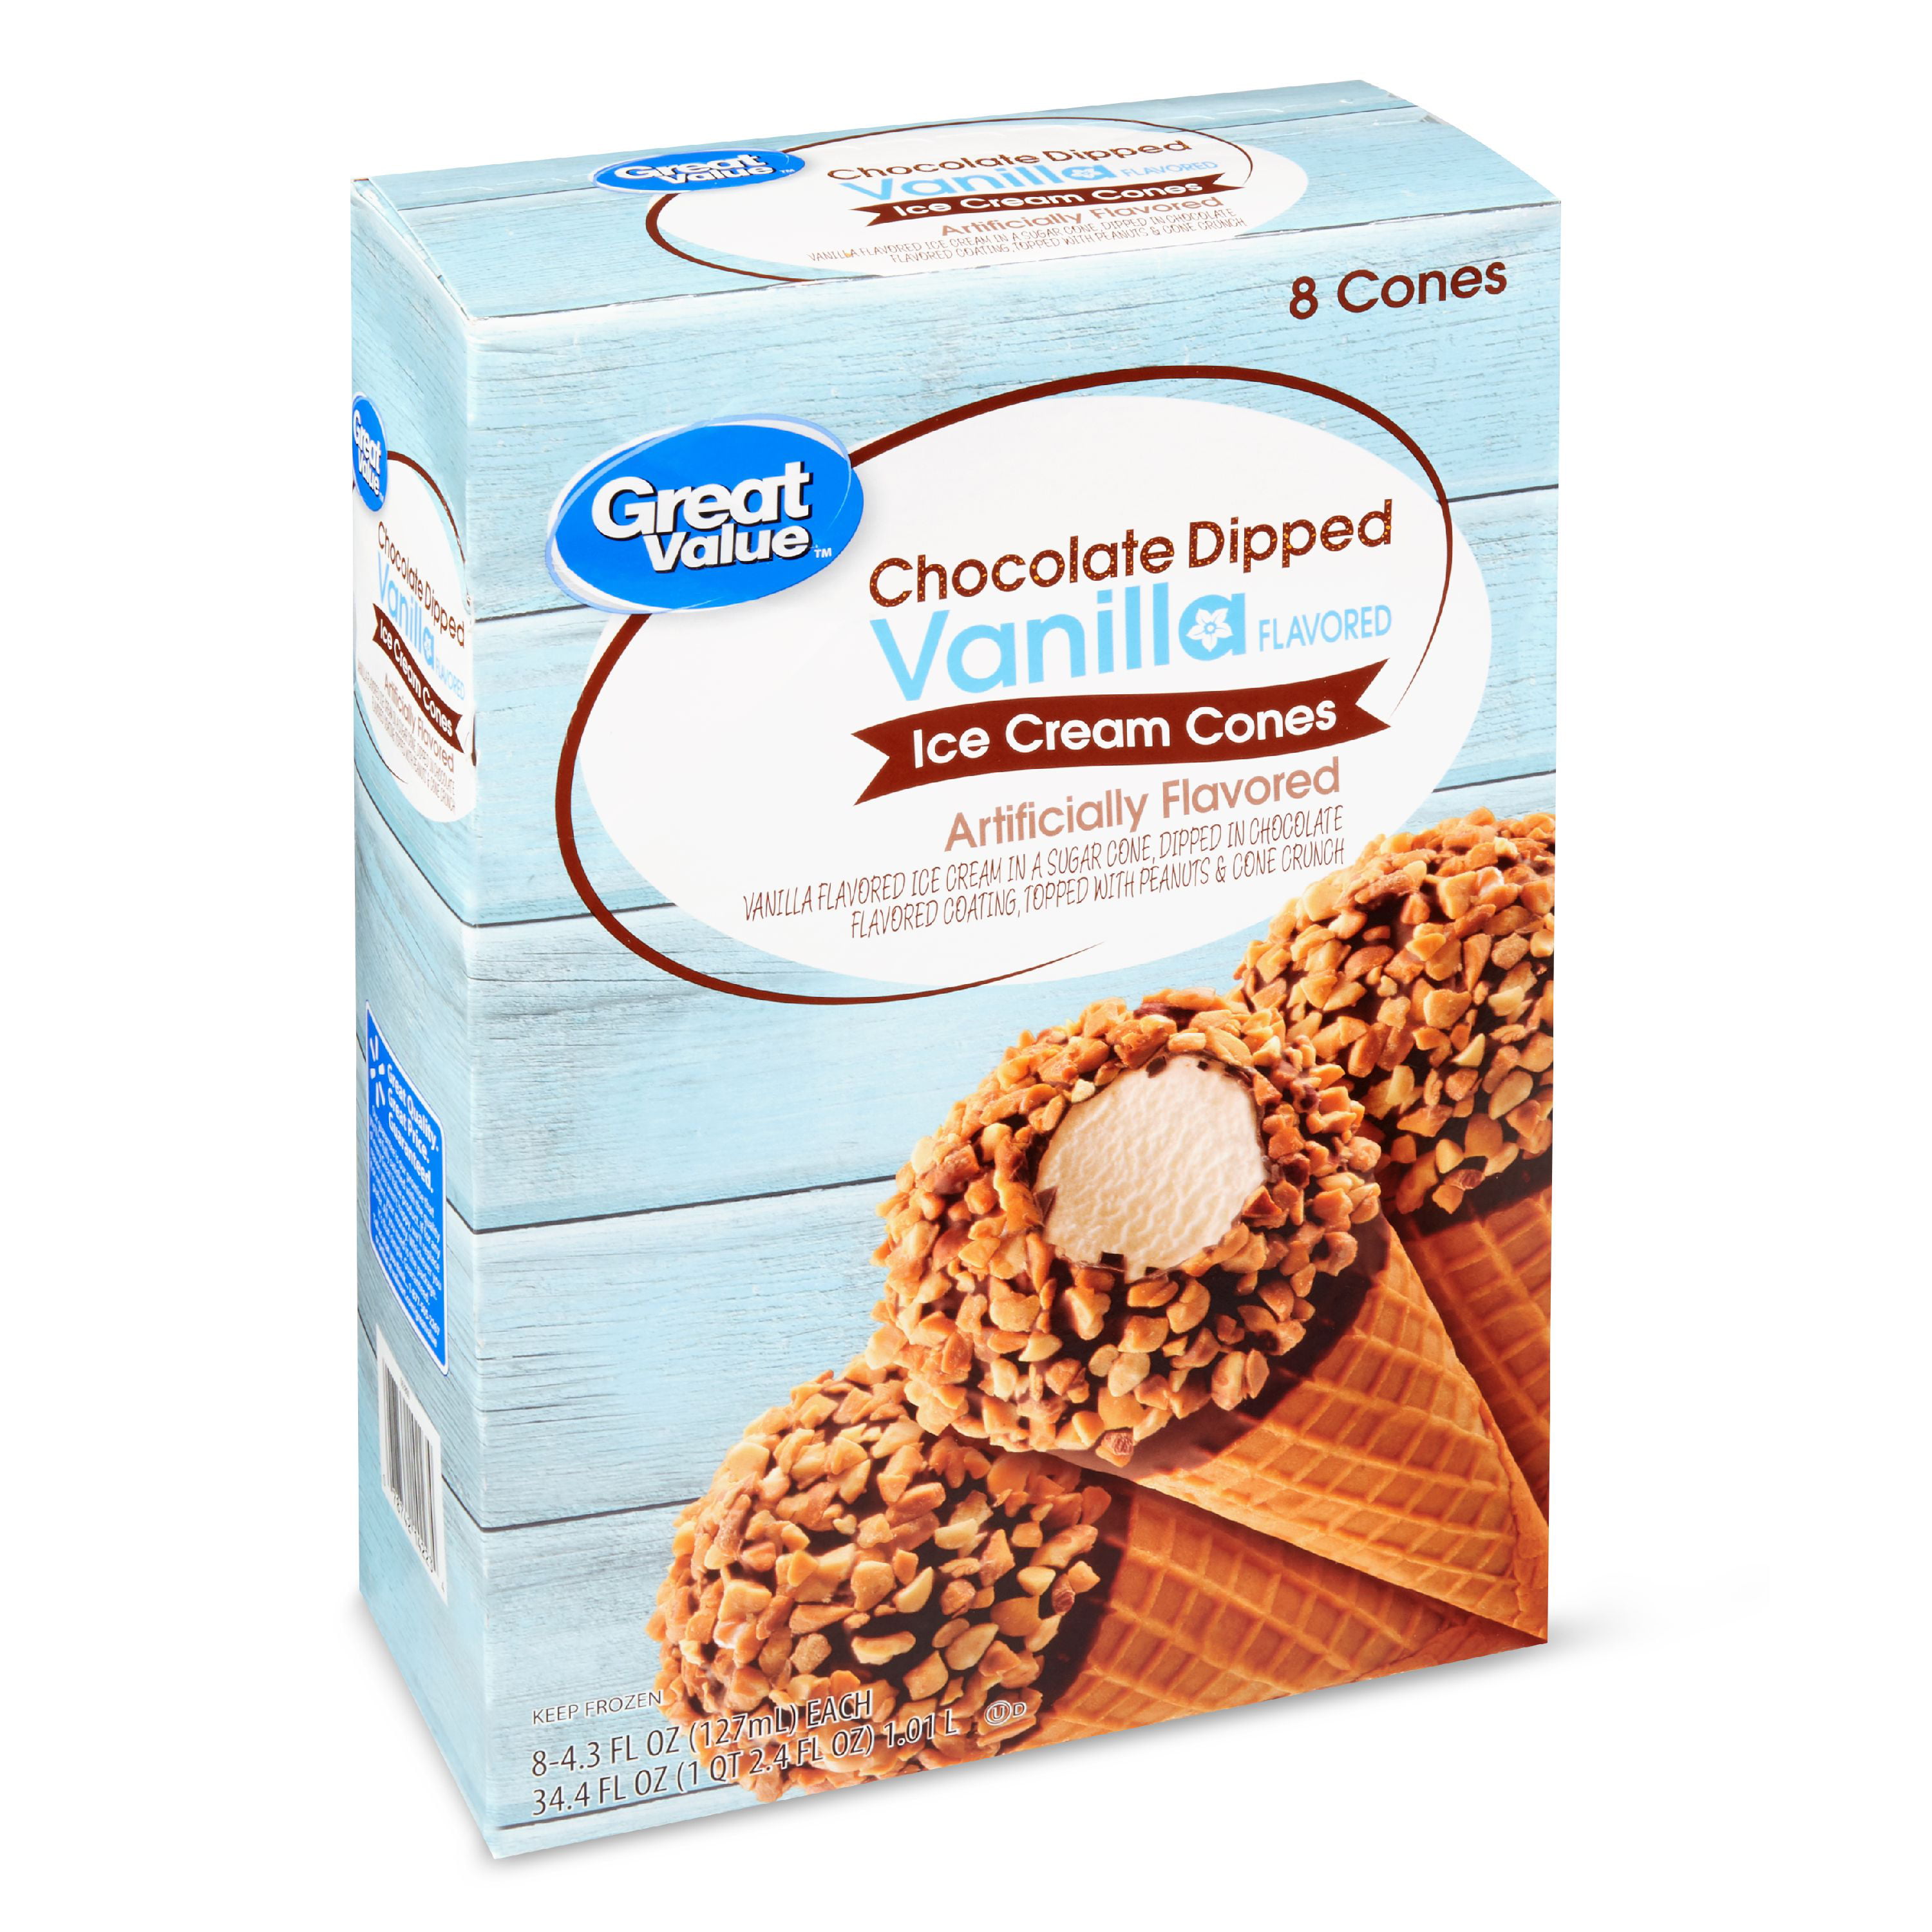
Great Value Chocolate Dipped Vanilla Flavored Ice Cream Cones, 34.4 oz
Beat heavy cream on high in a chilled bowl until soft peaks form, a little over a minute. While beating and add vanilla extract and sweetened condensed milk. Continue beating until stiff peaks form, another minute or so (See Tip 4). Transfer no-churn ice cream to pastry bag fitted with 1M star tip.

Chocolate Cone Ice Cream, for Office Pantry, Rs 50 /piece Madhur Food
Fill a sauce pan 1/3 of the way with water and bring to a boil. Reduce to simmer. Pour the chocolate chips and coconut oil into a metal bowl and sprinkle with a pinch of sea salt. Set the bowl over the simmering water and quickly stir until just melted. Remove and continue to stir until smooth.

Let's Get an Ice Cream Cone A Beloved Maine Summer Tradition Camden
Adding chocolate to the bottom of ice cream cones is an extra bonus that has been loved by people for generations. It provides a nice crunchy texture to the end of the cone once you start eating it. The chocolate also helps to prevent the ice cream from melting and dripping out of the cone. Additionally, the chocolate creates a welcome contrast.

Fake Single Scoop Chocolate Ice Cream on Sugar Cone
Fill each cone to the top with ice cream, and top with an additional 1/3-cup scoop. Return the cones to the cone holder, and freeze to harden the ice cream, about 30 minutes. Dip the cones: Put.
Chocolate ice cream in waffle cone featuring ice, cream, and cone
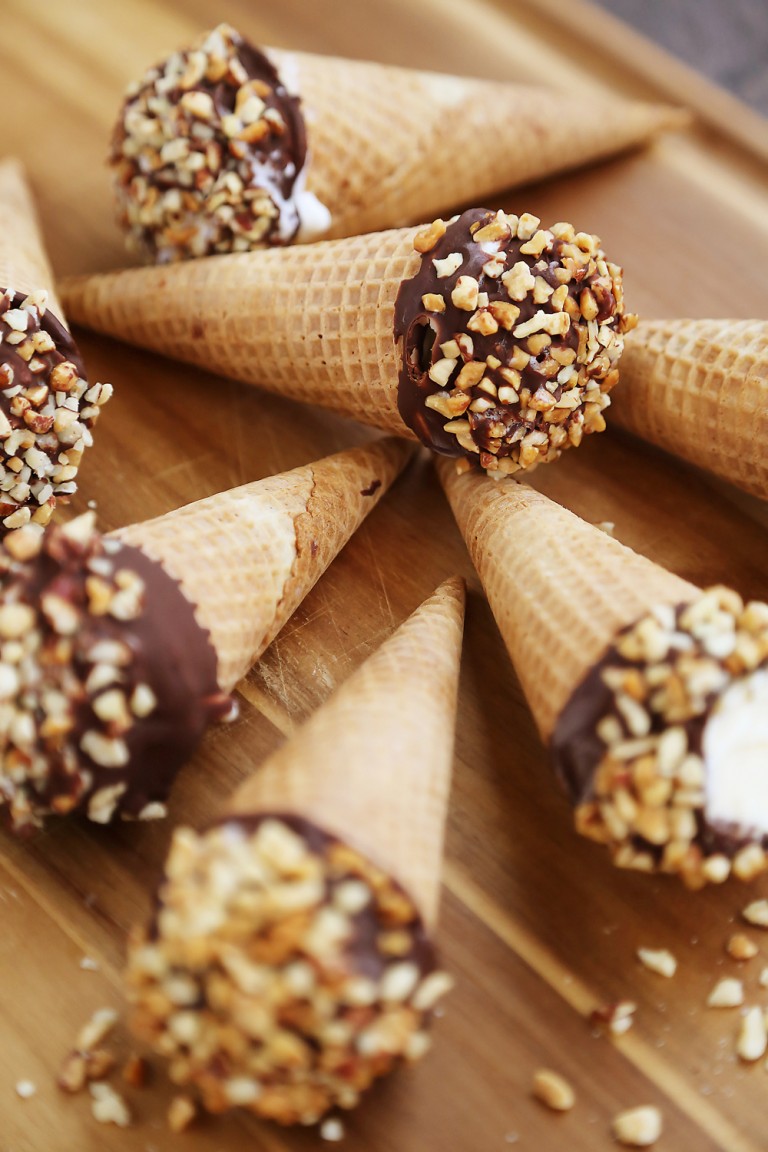
Take the filled cones with their cups and place them in the freezer for about 10 minutes to let the creaminess of the ice cream freeze up again. After the 10 minutes, remove them and scoop and smooth the ganache out on the ice cream, then quickly either dip or sprinkle the chopped nuts on the chocolate.

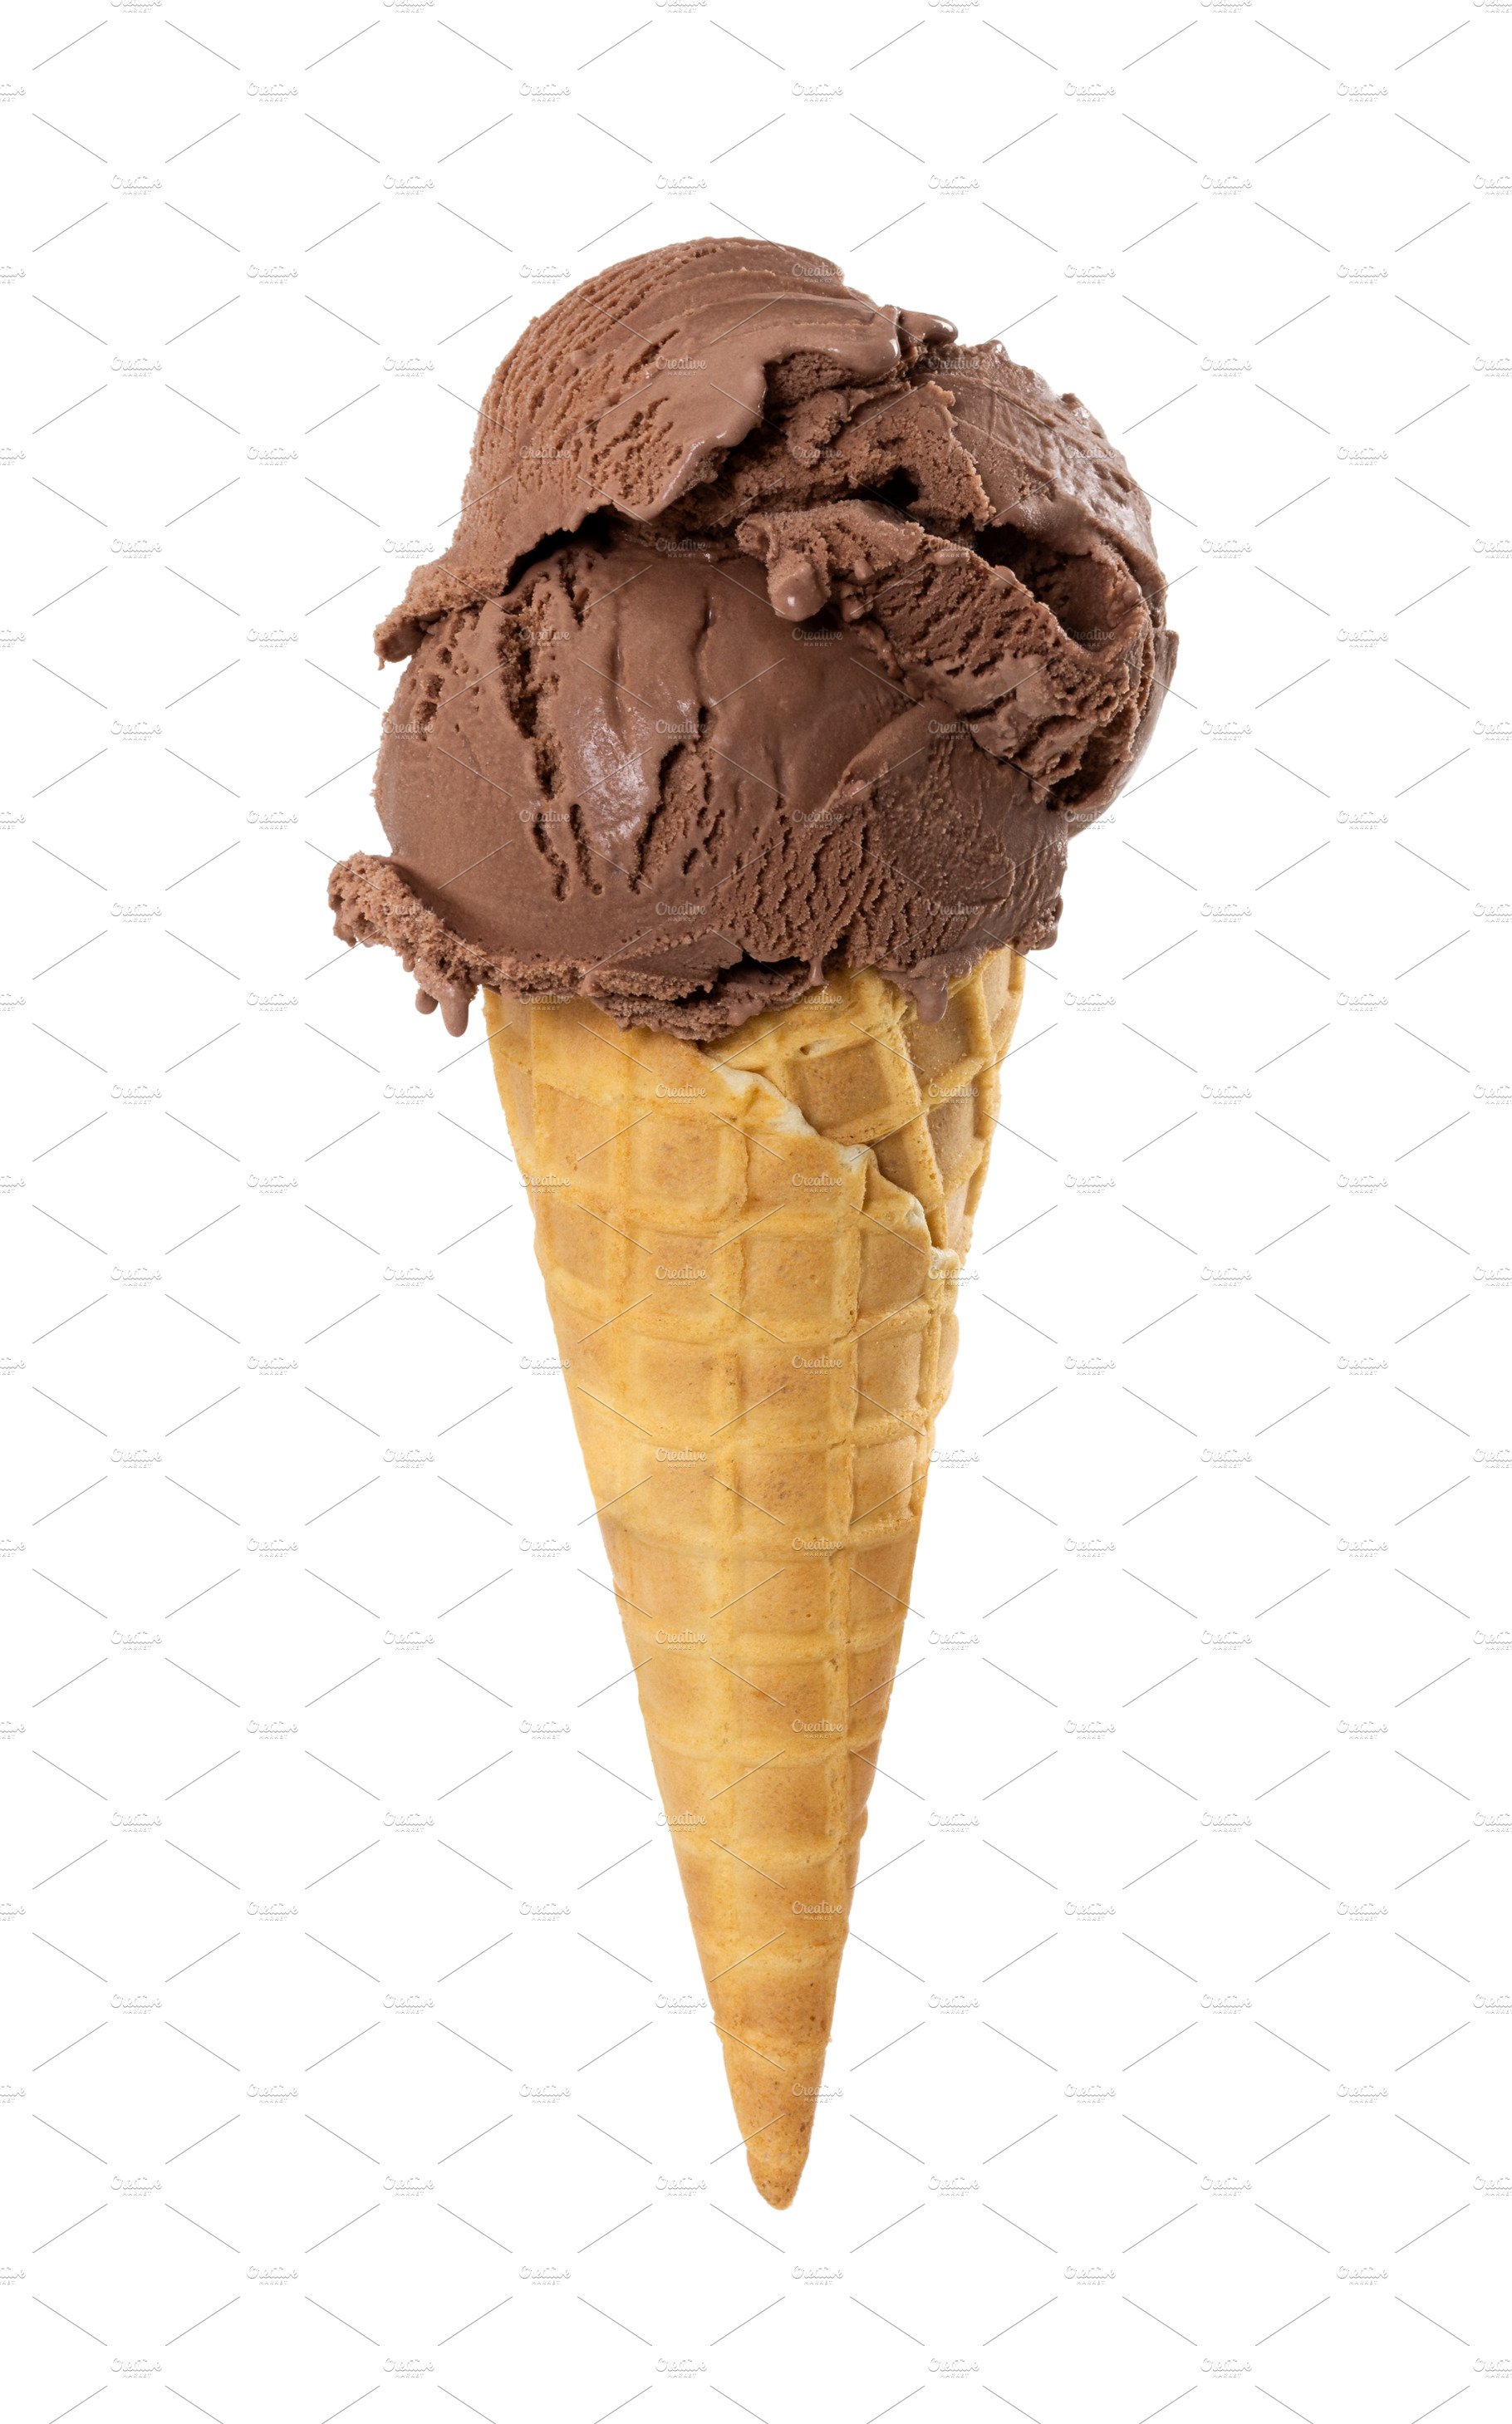
Chocolate ice cream cone stock image. Image of cream 71623353
Use your hands to gently "seal" the ice cream to the cone. Return the cones to their coffee cups and chill until very hard-at least one hour. When you're ready to dip, melt the remaining chocolate chips with the coconut oil in 30 second bursts until melted and smooth. Finely chop the peanuts and have them nearby.
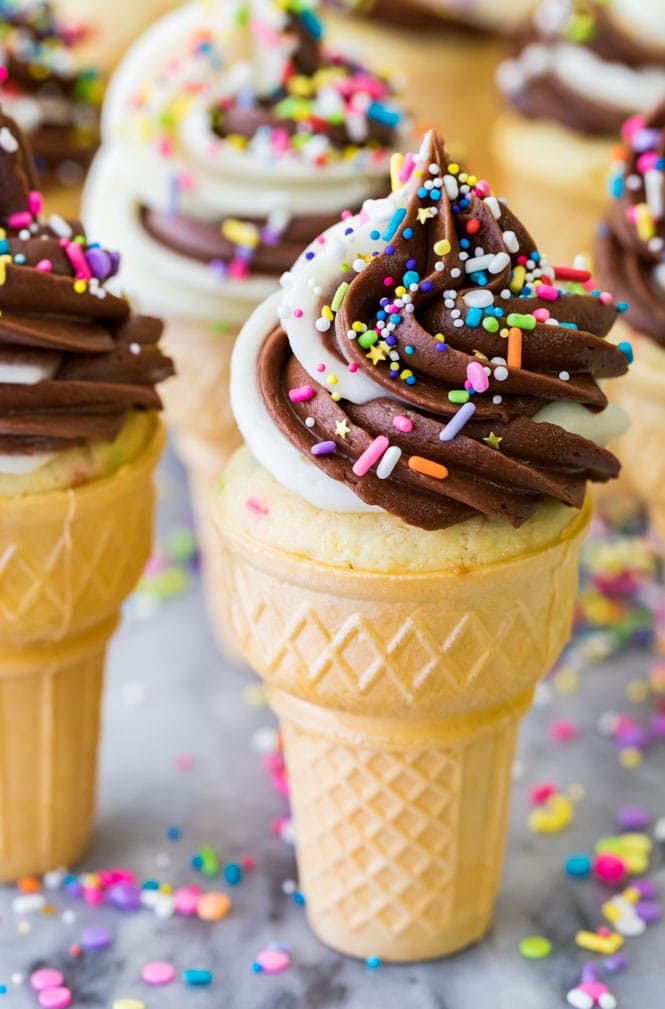
Ice Cream Cone Cupcakes Sugar Spun Run
1. First, put chocolate chips and coconut oil in a microwave safe bowl and microwave on high for 1 minute. Stir. Microwave again for 15-30 seconds and stir until chips are completely melted. Repeat as necessary until melted, but careful not to scorch the chocolate. In the meantime, pour sprinkles into a small bowl. 2.

Retro Style Double Ice Cream Cones with Drop Shadow Stock Photo Image
Spread both thinly and evenly into a round shape (about 6 inches/15 cm in diameter). Bake in a preheated oven at 400°F (200°C) for 6-8 minutes or until the edges are golden brown. When ready, take the tray out (leaving the oven on). Slide a spatula underneath one of the discs just to make it loose.
Chocolate Dipped Ice Cream Cones
Line a baking sheet with wax paper and place a cooling rack inside the pan. Set the cone with candy on the cooling rack. Add chocolate bark into a large microwave-safe bowl and microwave according to package directions. Using a spoon, pour melted chocolate over each cone, allowing it to drizzle down to the bottom.

Ice cream tastes better in a cone Heretix Forum
Place the saucepan onto the burner and bring it up to a simmer. Place a glass bowl onto the saucepan and then pour in the chocolate chips and coconut oil. Mix the chocolate chunks often to help them melt. Once the chocolate is completely smooth and melted start filling the cones and drain out the excess.

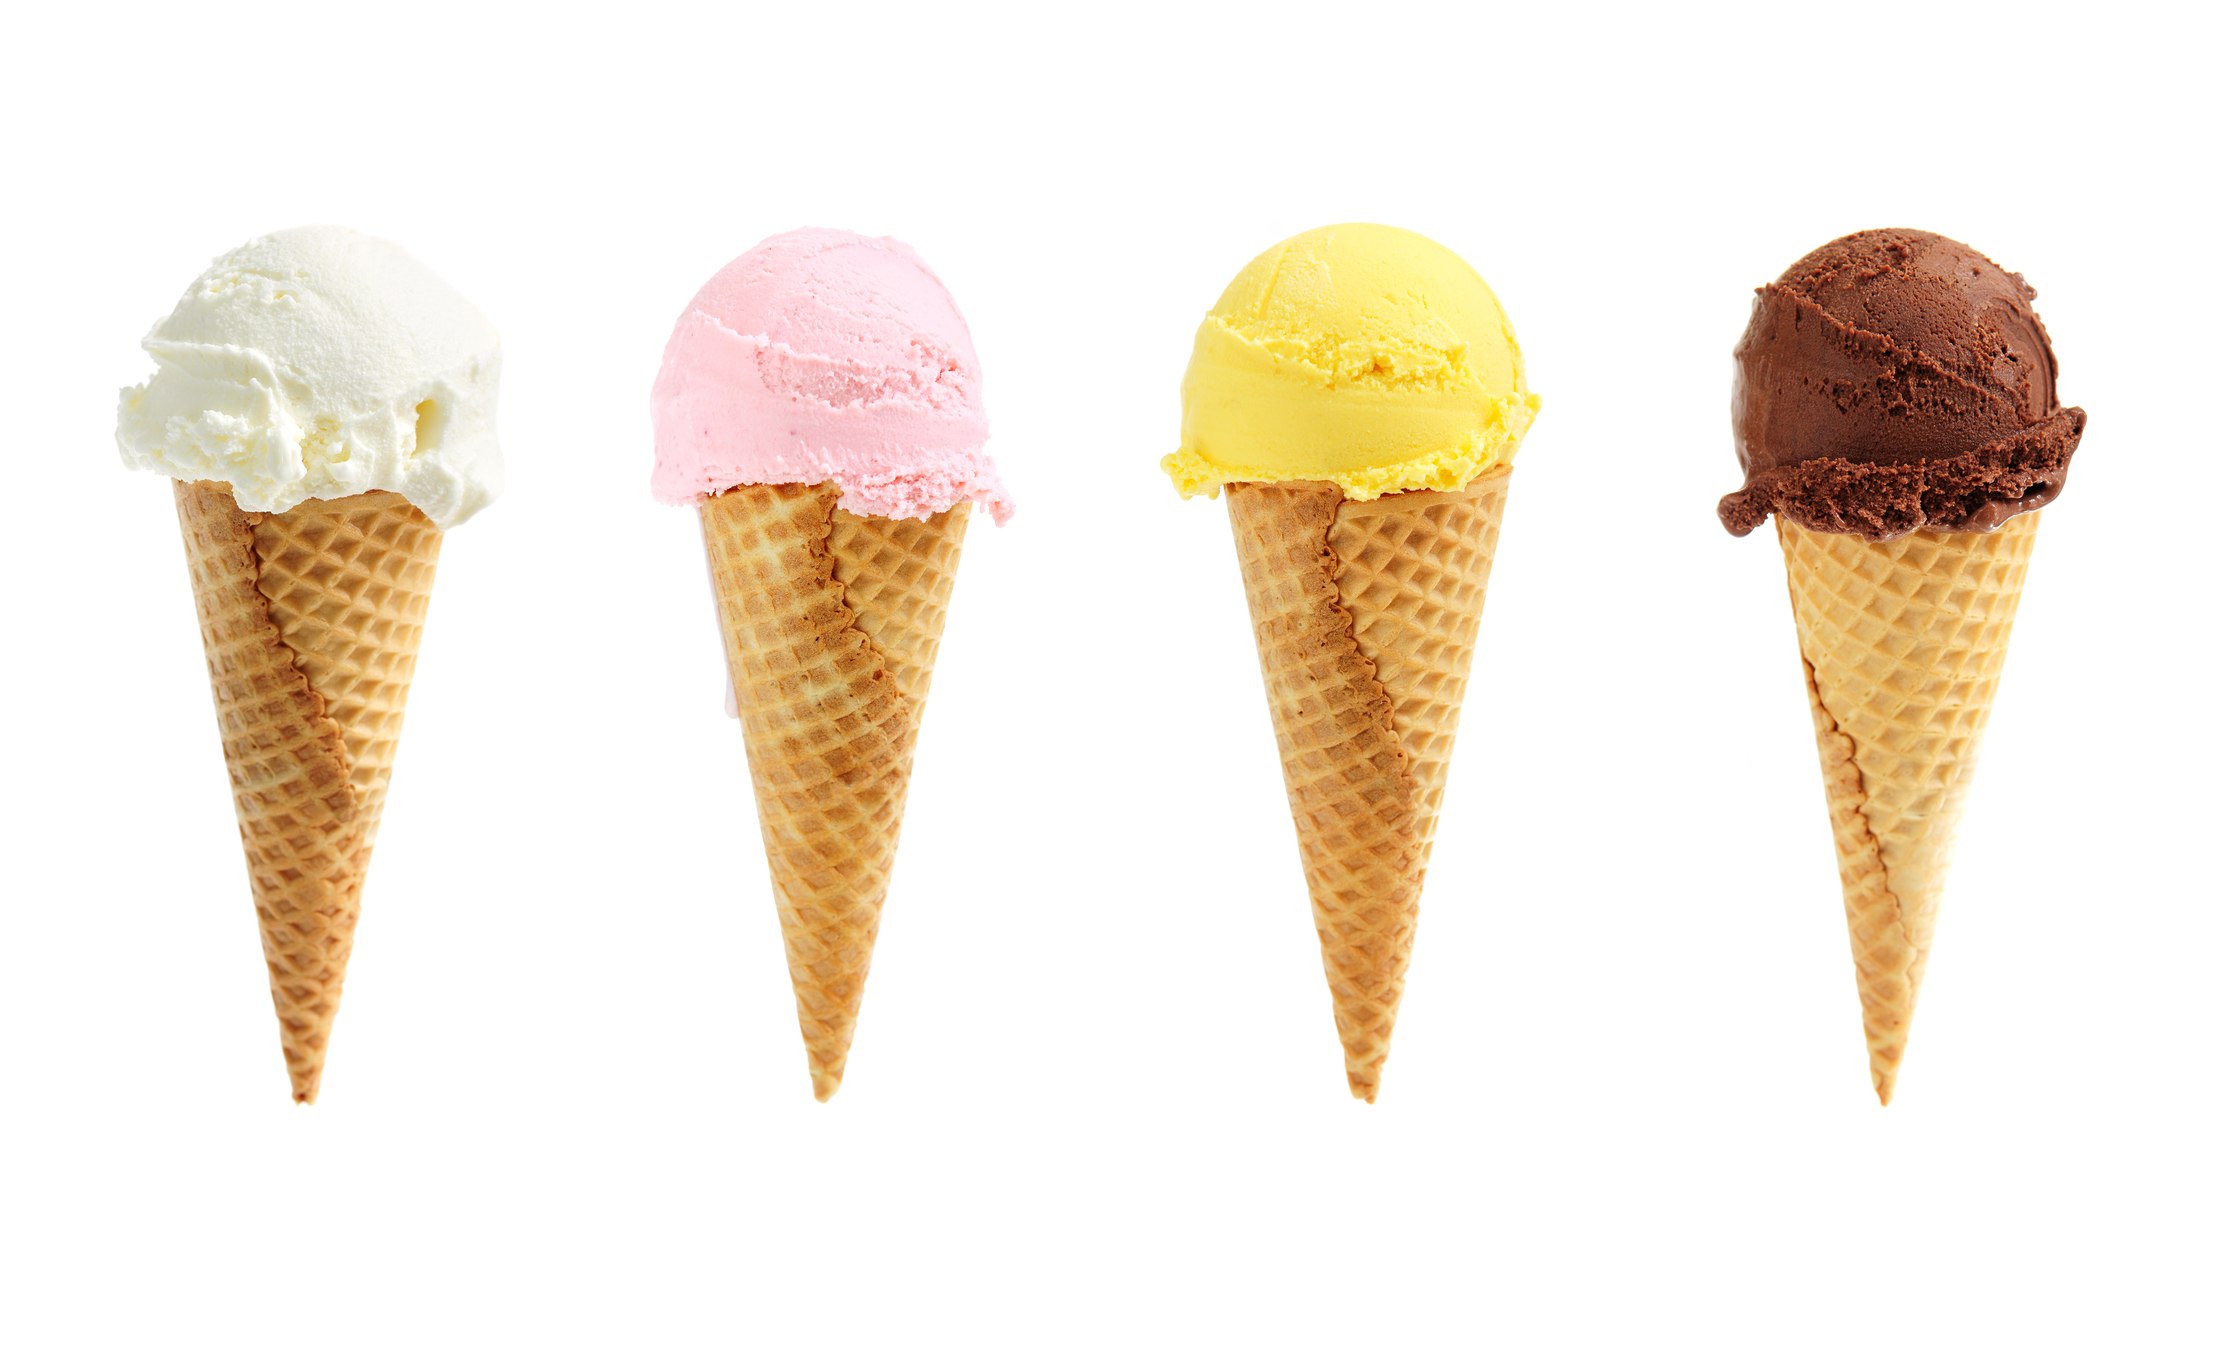
The 3 Most Important Ice Cream Cones (And When To Use Each One) Food
Preparation. In a small bowl, combine ½ cup (85 G) chocolate chips and the heavy cream. Microwave in 30-second intervals, stirring in between, until melted and smooth, about 1 minute total. Cover with plastic wrap and refrigerate until set, about 20 minutes. In a large bowl, combine the remaining chocolate chips and coconut oil.

front view of real edible ice cream cone with 3 different scoops of ice
On 50% power, and in 30 second increments, melt the chocolate until smooth. Holding one waffle cone at a time in your hand, ladle in a couple tablespoons of the melted chocolate. Turn the cone slowly, allowing the chocolate to cover the entire interior surface of the cone.
One by one, ROLL the upper edge of each ice cream cone through the chocolate. To create the Frosty Fun Cone and Festive Sprinkles Cone, use white chocolate. For the Snowcapped Cone, use milk chocolate. Helpful hint: For even chocolatier cones, drip some of the chocolate along the inside edge of the cones or into the bottom of the cones!
Homemade ChocolateDipped Ice Cream Cones The Comfort of Cooking
Finely chop the chocolate, Put ⅔ of the chocolate into a narrow bowl and melt in a microwave: cook on full power, stirring every 30 seconds, until just melted. Add the remaining chocolate and stir until smooth. Working quickly, dip a cone into the chocolate to create a layer of chocolate around the top of the cone.
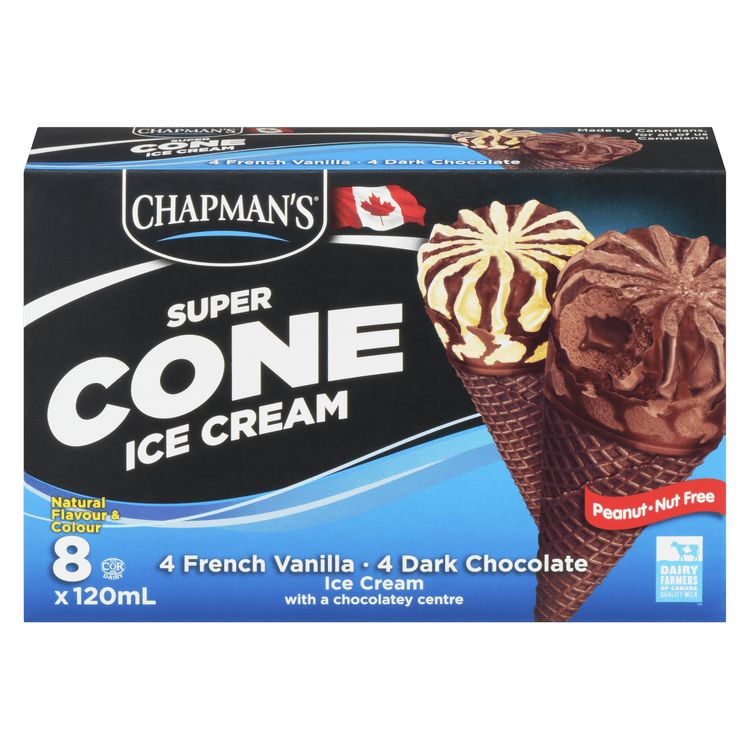
French Vanilla & Dark Chocolate Ice Cream Cone Chapman's Ice Cream
Instructions. Punch holes in the top of 3 egg cartons to make ice cream cone stands. Scoop the ice cream and press firmly on top of each cone. Place in the stand and move to the freezer to harden, for at least 1 hour. Place the chocolate, coconut oil, and salt in a large bowl. Microwave for 60 seconds and stir.